Sunday, December 18, 2011

Smooth's 2012 KTM 300XC Enduro Build


So after a bit of deliberating, I decided to purchase a 2012 KTM 300XC from my good friends down at Fun Mart Cycle Center.   I try to ride year round, so this is going to be my "do all" bike.  My summer riding consists of racing Enduro's, and hare scrambles, as well as riding as many dual sports and local trails as practicable.  I am fortunate enough to ride a lot with my good Teammates on Team P&G Offroad Racing as well as the Madison Motorcycle ClubI know that I often search the web for "bike setup" tips and opinions, to aide in my bike setup, so I thought I would document my setup to hopefully help someone in their setup.  Take this guide for FWIW, but this is my setup.

So what do you do when you get a brand spanking new bike?  Take it apart, of course!
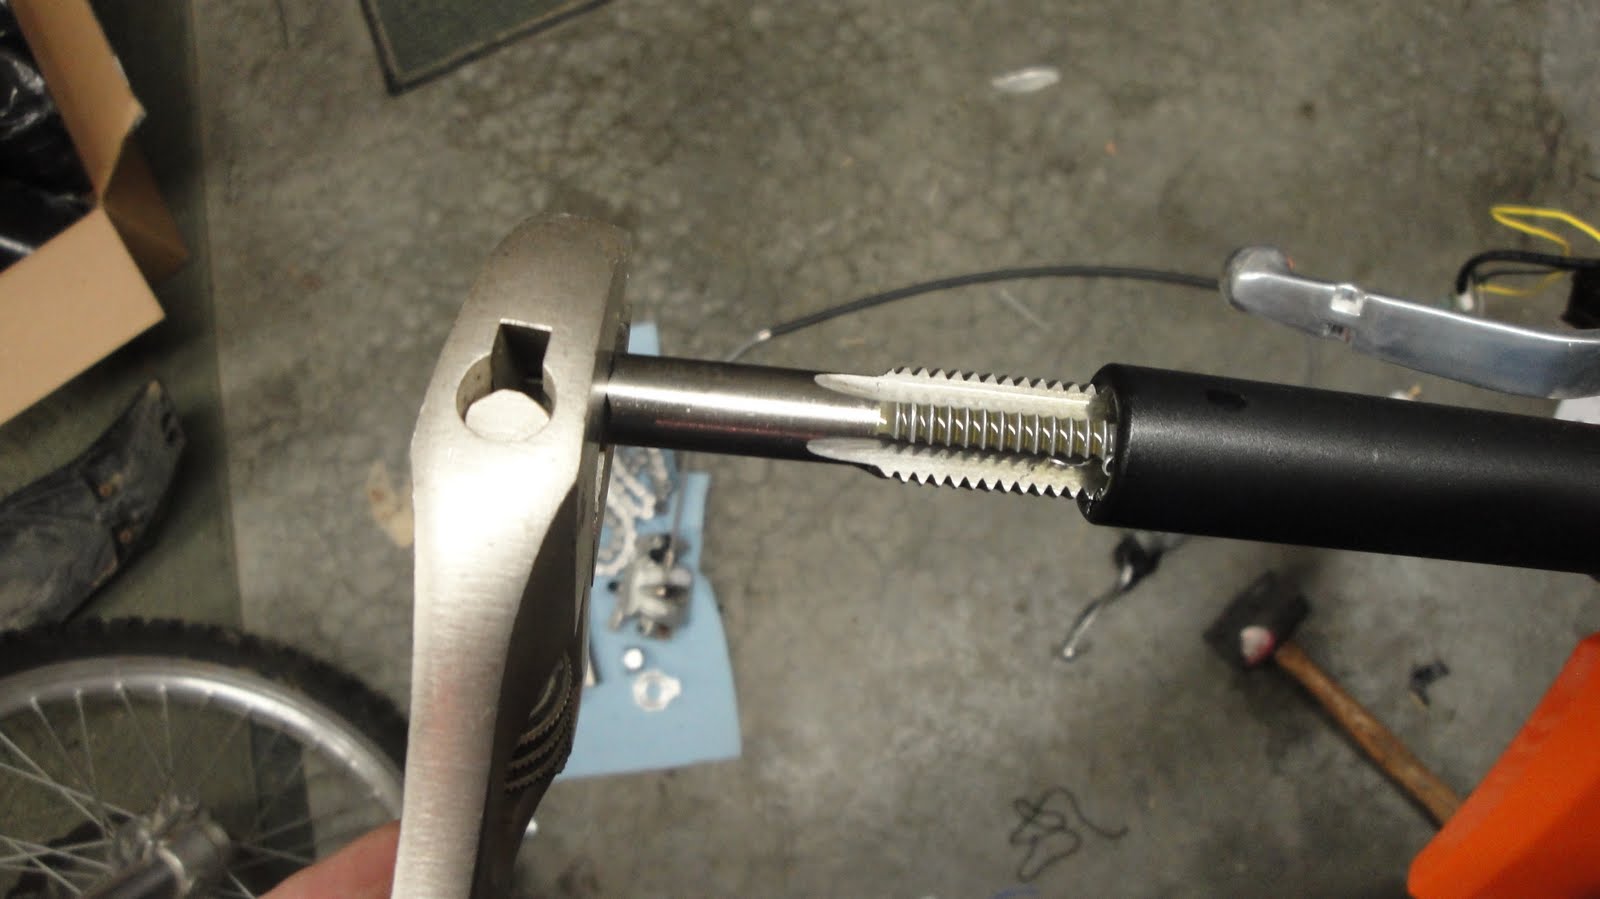


Speedy Tip!
Custom Rear Axle Holder

 Place your rear axle in your silencer when removing rear wheel.  


Observations

I was really surprised to see how much more refined this bike was compared to my 2009 250 XC-W.  One of the first things I noticed was the location of the CDI Box.  The CDI Box on my 2009 XC-W was on the frame, in front of the left radiator.  When running a headlight, the rubber clamp around the fork would rub against the CDI Box when the wheel was turned sharply to the left.  This new location looks to be ideal.


After removing the seat, I noticed some other refinements too.  There is a nice rubber gasket on the frame that rides between the frame and the gas tank.


As well as high quality clips and nice wire channels for accessing the air box.

Another refinement, the rear shock is mounted to a crossbar rather than directly on the frame. 


Carb Hose Re-Route

Now that the bike is apart, the first thing I do is re-Route the Carb Hoses.  I use this guide.

The pertinent part is this:

The carb has five hoses:  One is a bowl drain (from the bottom of the carb) which we can ignore, four are vents, come from the upper part of the carb. If I may number these vents;
#1: Comes from the side of a “T” on the left side of the carb and goes down.
#2: Comes from the top of a “T” on the left side of the carb and goes up, over & down the right..
#3: Comes from the side of a “T” on the right side of the carb and goes down.
#4: Comes from the top of a “T” on the right side of the carb and goes up, over & down the left.
Also on the float bowl screws there are two tabs to retain downward hoses.

Dave’s Way;
#1: Is left alone.
#2: Is run over the top but shortened and run into the right side “T” thus negating #4.
#3: Is run up into the air box and with a small piece of tubing spliced on the hose you have left over from #4 and go to the bottom of the air box. My preference is to pinch it with the air filter to secure it there!


Here are some pics of the Carb hoses as it came stock:


One of the nice refinements of this bike over my last bike, was access to the airbox.  It has a nice channel for running wires, or in this case, tubing.  This will come in handy when I begin putting on the lighting.  I zip tied the #3 vent tube to the airbox just behind the carb clamp, then routed into the airbox.  I chose this routing because it kept the tube away from the silencer.
Here is what it looks like finished.


Linkage

Being that this is my first bike with a linkage suspension, I thought I would take the linkage apart and make sure the bearings had a decent coating of grease.   I removed all the spacers and inspect.  Everything looked good, so I resembled.

Be sure to align the slice in the wash with the dog leg.  This is nice as it prevents the bolt from turning when tightening.


I added a dab of blue loctite to all the bolts and torqued to spec:  All linkage bolts to 80 Nm, and the swingarm Pivot to 100 Nm.  


Swingarm

For the swingarm, I add clear silicone caulk to the top chain guide bolt hole.  I got this tip from Greg Moss, father or Ryan Moss who runs the midwestenduros.com web site.  Ryan was in a race and the screw backed out, locking up the rear wheel.  They could not tell why the wheel would not turn until they discovered the bolt backed out ans hung up the chain.


Installing Moose Hour/Tach Meter

Post Date:  1-15-2012
Before I ran the bike, I wanted to install an hour meter.  I like the hour/tach combo units by Moose as it is nice to be able to set the idle knowing the RPMs of the bike as well as track the bike's run hours. 

Installation:
1.  I taped one end of the black wire to the end of the spark plug wire, just before the cap, with the long end coming off the end of the spark plug wire.  See pic below:


2.  Next, I wrapped the black wire up, and over the taped end of the wire.

3.  Next, I tapped over the wrapped wire, and continued up the wire. 
4.  I tied the signal wire together with the kill switch wire until just in front of the radiator which is where I mounted the meter with the supplied double stick tape.

Flexx Bars, Hand Guards, and Hand Guard Mount Inserts

Post Date:  1-15-2012
Last year my elbow started bothering me, so I thought I would try a set of Flexx bars.  After speaking with Tom Ferris at Enduro Pilot, I went with the FL1001-10-31SD, or the 10 degree Enduo Bend 31SD.  Being that these are Flexx bars, I also purchased a set of Cycra Pro Bend hand guards.  Since these are probably going to be my main handlebars for years to come, I thought I would splurge and also get a set of System Tech Ridgid Handguard End Insert Mounts.  Enduro Pilot offers a discount if you purchase the hand guards and the flexx bars together. 


Installation of Inserts:
The inserts require tapping out the bar end with the supplied tap.  Mark the tap with the desired depth, then tap until desired depth is reached.  Be sure to use lots of lube on the tap.


 Once you complete tapping the bars, be sure to clean out well.  I used carb cleaner and an air compressor to clean out the debris as best as possible.  I then threaded in the unit using ample loctit.

Moose Racing Heated Hand Grip Install

Since I will be riding this bike on the ice, and in the spring, I wanted to add some heated hand grips.  I opted for the Moose Racing Handwarmer Kit.  I had this same kit on my last two bikes, and it lasted forever.  The set on my 2002 400EXC even outlasted the bike!

The install instructions are really good.  They even labeled both handwarmers.

I rubber banded the handwarmers around the bars, and let sit overnight to help them conform to the bars.  This is probably a bit excessive as the handwarmers have really sticky glue on them.  Placement of the handwarmer on the throttle side is very important.  If this is not done correctly, the wires will pull out.  The wires must come off the grip from the front top of the handlebar.


Connecting the wires to the Hi/Low plug is pretty straight forward as the instructions are excellent.  I always solder my wire connections, so I soldered the wires to the Hi/Low switch.


As an aside, I picked up some Pro Taper grip glue for this project as I ran out of the Renthal grip glue which I usually use.  I did not care for the Pro Tape glue at all.  I dried too quickly and hard.  Plus it did not allow the grip to slide on easily.  Pro Taper may offer different grip glue, but I am definitely sticking with the Renthal from now on.

Brake and Speedo Cable

Post Date:  1-15-2012
I will be using a Watchdog computer, which I transferred over from my last bike.  I always tape up my brake and computer cable together to help help with catching on branches and the like.

Dual Sport Kit - Sicass Racing

Post Date:  1-15-2012
Since my 2002 KTM 400EXC has basically become a donor bike, I thought I would take off the Sicass Racing Dual Sport Kit which I had purchased some years back.
I mounted the rear blinkers on the corners of the rear plastic.  I really liked the look on the new bike.


Needing the ability to run the blinker wires into the airbox, I went down the local hardware store and purchased a grommet to route the wires through.

I then drilled a hole in the plastic behind the sub frame crossbar to insert the grommet into.  I then routed the the blinker and tail light wires through the grommet.

When everything is finalized, I will use silicone caulk to caulk up the hole with the wires to seal up the airbox.

Wiring Harness - No blinkers!

Actual Post Date:  02-02-2012

So it has been a while since my last post as I have been struggling a bit getting the blinkers working.  After moving over the wiring harness from my old bike, I could get everything working (horn, head light, tail light,brake light), but no blinkers.  After calling the company, he suggested that it was a grounding issue.  I had the lights grounded to the center top triple clamp bolt.  Apparently when you ground to that location, the grounding occurs through the bearings in the head tube which is not that great.  So, I connected a solid copper 10 AWG wire from the sub frame grounding bolt to the center grounding bold, and voila, blinkers!

Connection at SubFrame.


Connection at top triple tree.

Integrating Front Blinkers into Deflectors

Actual Post Date 02-02-2012

Now that I have the blinkers functioning, it is time to start putting things back together.  The dual sport kit came with Zeta hand guards with integrated LED Flashers.


They look cool, but the deflectors are definitely not tree worthy.  Wanting both a decent deflector, and blinkers, I decided to modify the Cycra deflector to incorporate the flasher from the Zetas.  Removing the flashers from the  Zeta's was quick and easy.

Next, I traced the cut out shape on the Cycra deflectors and melted out with my heat tool.


Here is how it looked after inserting the flasher.

Deflector Blinker Setup Cont'd

Actual Post Date:  02-03-2012

So the blinker fit was OK, but not great.  Here is a pic of the blinker profile in the Zetas.

To try and tidy things up a bit, I thought I would caulk around the blinker.  This should hide some of the imperfections as well as help seal the unit up and hold things together better.

First I taped around the blinker, so after I caulk, I can just remove the tape and have a nice edge.  To make sure the caulk holds well, I sanded the caulk area with heavy grit sandpaper as well as the edge of the flasher.


Here is the finished product.

Countershaft Sprocket Chain Guide Mod

Actual Post Date:  02-04-2012

I like to trim the Countershaft Sprocket Chain Guide to aide in debris removal.  With the chain guide in stock configuration, debris tends to get jammed up under the guide making it difficult to clean out.  Grass and weeds tend to be particularly difficult to remove.

Here is a pic after trimming the guide.


I moved my Moose Racing Clutch Slave Protector over from my last bike, so a little more trimming was needed. Here is what it looks like finished.